Lecture notes 1#
Installing miniconda#
Install the miniconda distribution by downloading for your operating system https://docs.conda.io/en/latest/miniconda.html
For macos/linux the installer is a shell script that you run with the bash program. Assuming you open your terminal will open in your home folder and the download was saved in the Downloads folder the command is
MacOS/Linux#
$ bash Downloads/Miniconda3-latest-Linux-x86_64.sh
Here is a screen recording of the process https://asciinema.org/a/p7BofPQadUDJeL7dCtyZFKOL3
Answer yes to the questions otherwise accept the suggested defaults.
It has come to my attention that the script can fail on Macs due to a missing program mdsum. If that happens try this first.
$ alias md5sum='md5 -r'
$ bash Downloads/Miniconda3-latest-Linux-x86_64.sh
Windows#
For windows the installer is an executable Miniconda3-py310_23.1.0-1-Windows-x86_64.exe, which should install nicely by clicking on it
Windows miniconda provides a command-line interface called “Anaconda prompt” which is the same as the classical Windows CMD program, but initialized for Python.
Conda environments#
Following the installation above means that your account is initialized with a so called conda base environment. You see this as a modified terminal prompt that starts with
(base) ...
This means that whenever python is typed, the computer will use the miniconda version even if you have other python versions installed
(base) $ which python
/home/python-lll/miniconda3/bin/python
In windows the equivalent command is
(base) > where python
If this is not what you want (if you need to use other python versions) a comment from the installation shows what to do.
$ conda config --set auto_activate base false
Conda environments are used to isolate projects with software dependencies from each other keeping all related files in unique folders.
The extra libraries we need for this course are defined in the file bb1000.yml. The command
$ conda env create -f Downloads/bb1000.yml #mac/linux
C:> conda env create -f Downloads\bb1000.yml #windows
will create a new conda environment with the name bb1000 and install the libraries for this course. A screencast of this is in https://asciinema.org/a/gGzSYTgg5X8H7cG810i5FrGCh
You will activate this environment with the command
$ conda activate bb1000
(bb1000) $ which python
/home/python-lll/miniconda3/envs/bb1000/bin/python
!cat bb1000.yml
name: bb1000
channels:
  - defaults
dependencies:
  - jupyter
  - matplotlib
  - numpy
  - pandas
  - pytest
  - git
import numpy
Installing a code editor#
Tools for writing and saving computer code are editors. There are many around, but as discussed our motivation to select Visual Studio Code (VS Code) is motivated by that it is the most used editor among programmers in all types of fields. It will be the reference editor in this course and it has functionality that connects with other tools in the course
See https://code.visualstudio.com/ on how to install for your platform
During the install process, vscode will at some point pop up a window asking for installing a Python extension. Answer yes, it will improve the coding experience, like recognizing keywords and using a coloring scheme that supports the programming.
Interactive, notebooks and files#
We think of three types of ways of working with Python
Interactively
Notebooks
Text files
Interactive#
When you type python on the command line
$ python
>>>
the prompt changes again, this time to three arrows. This is the Python prompt, the computer is waiting for instructions in the Python language. For example simple mathematical operations like
>>> 14*3
42
The instruction is here an expression (here multiplication of numbers) that has some value (here 42) and that is displayed on the next line.
Notebooks#
With notebooks we can use the browser for writing code and combine documentation and executable code in the same document. Google colab is a way of getting started without any installing on your own computer. See https://colab.research.google.com/. The notebook “Welcome to Colaboratory” shows some features. Try to run the code cells by clicking on the play button next to the code cells.
A notebook is also an interactive programming environment where it is convenient to experiment and play around.
# A code cell
14 * 3
42
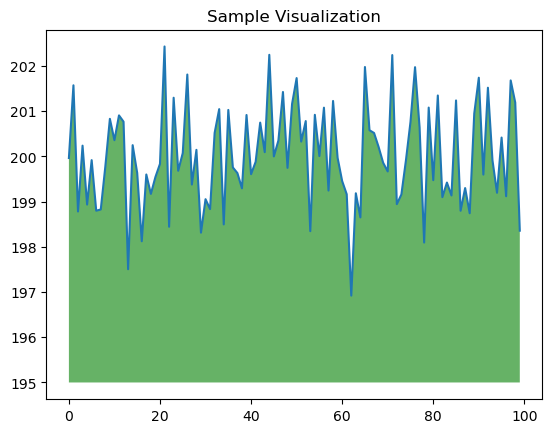
or if we copy one of the code cells in the collab demo
import numpy as np
from matplotlib import pyplot as plt

ys = 200 + np.random.randn(100)
x = [x for x in range(len(ys))]

plt.plot(x, ys, '-')
plt.fill_between(x, ys, 195, where=(ys > 195), facecolor='g', alpha=0.6)

plt.title("Sample Visualization")
plt.show()
Files#
Plain Python files are regular text files with extension .py . This is how larger Python programs are written.
We use an editor like VS Code for this, but VS Code has extensions that work for notebooks as well.